
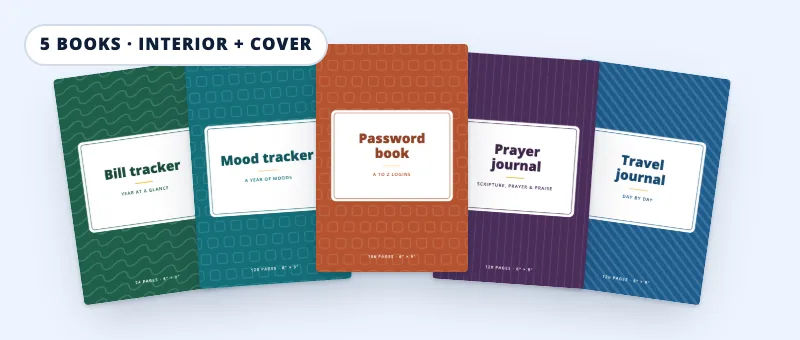
How to Make a Book Mockup
Choose your front cover, set the trim size, page count and paper you picked on KDP, then pick a view. The preview redraws as you change anything, and the Download button saves a 2,000 × 2,000 pixel PNG.
The picture contains your cover and nothing else, with no watermark or credit line to keep.
Which View to Use
Spine showing reads as a paperback someone could pick up, and it sits well beside text in an ad or an A+ content module. Pages showing puts the page block in view, which is the one to choose when the book's length is part of the pitch, say a 500-page fantasy. Flat keeps the title readable when the image will be small, as in a social post or an email.
A transparent background lets you drop the book onto a photo or a colored banner in Canva or any other editor. Pick white or light gray when the image goes straight into a post.
Why the Thickness Is Real
The book's depth comes from KDP's spine formula: pages × 0.002252" on white paper, × 0.0025" on cream, × 0.002347" on premium color. A 6" × 9" paperback of 200 pages on white comes out at 0.450", the same spine the cover calculator gives for your full wrap.
Getting a Front-Cover File
If your designer sent the full wrap (back, spine and front in one file), crop the panel to the right of the spine and trim the 0.125" bleed off its top, bottom and right edges.
For a sharp result use a file at least 1,500 pixels tall. The cover fills about three quarters of the 2,000-pixel image, so anything smaller gets stretched and soft.
No cover yet? The example is the Password Book from our interior library, so you can see the result before your own file is ready.