Amazon Kindle Direct Publishing (KDP) provides authors with an advanced self-publishing platform, allowing them to put their books on the shelves of the world’s largest online bookstore, which serves millions of readers.
Before you start your incredible journey as an independent author, however, you need to create a free Amazon KDP account. Below, I’ll walk you through the entire account setup process step by step to help you ensure that everything is set up correctly.
1. Sign Up for an Account
First, visit the official Amazon KDP website at https://kdp.amazon.com/.
You can choose to Sign In to Amazon KDP with an existing Amazon shopping account, or click Sign Up to create a new account.
Note that you are not allowed to have multiple Amazon KDP accounts according to their terms and conditions. However, it is possible to publish multiple author profiles with the same account.
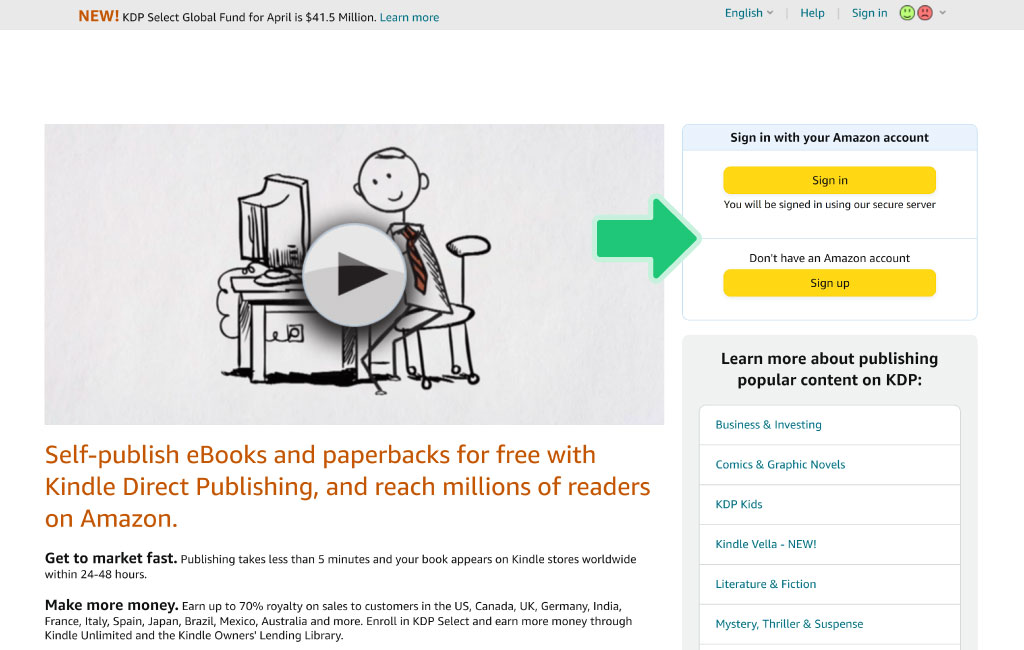
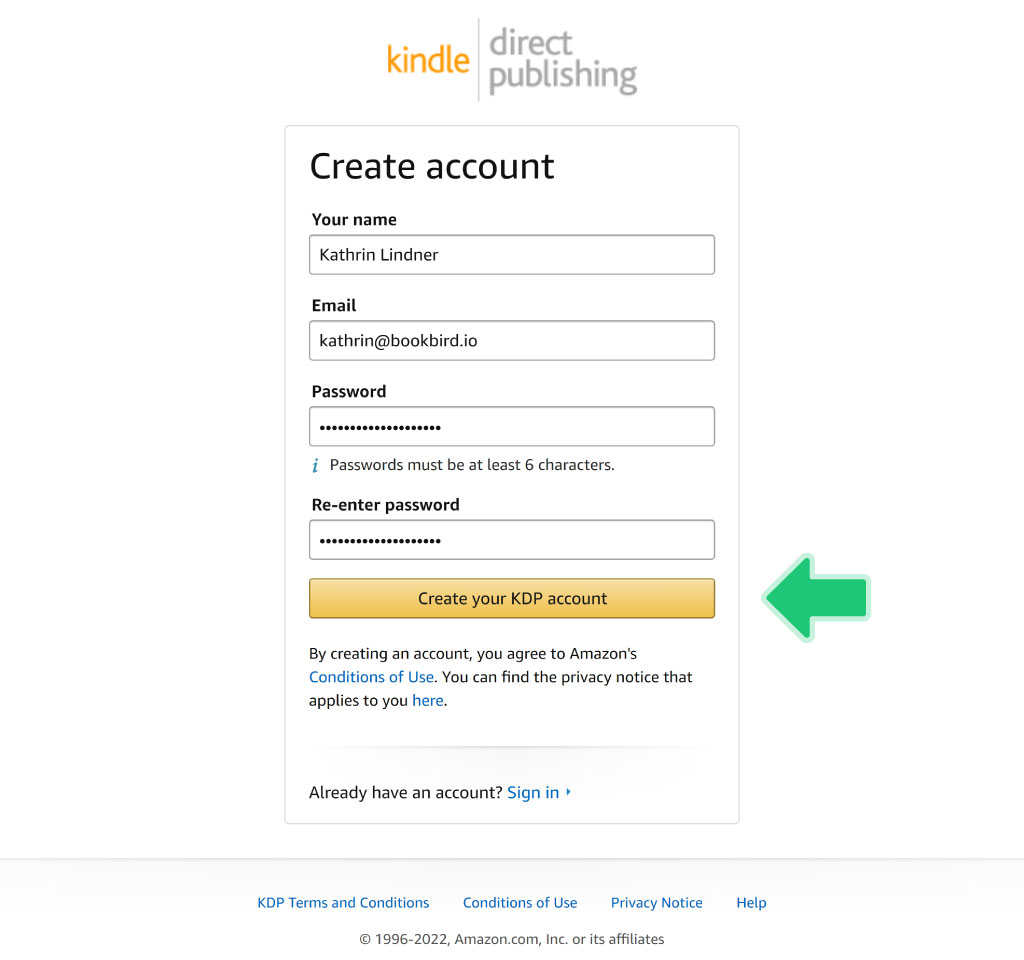
If you are creating a brand new account, you will have to enter your name, email address, and password. After that, confirm everything by clicking on the “Create Your KDP Account” button.
2. Read and Accept
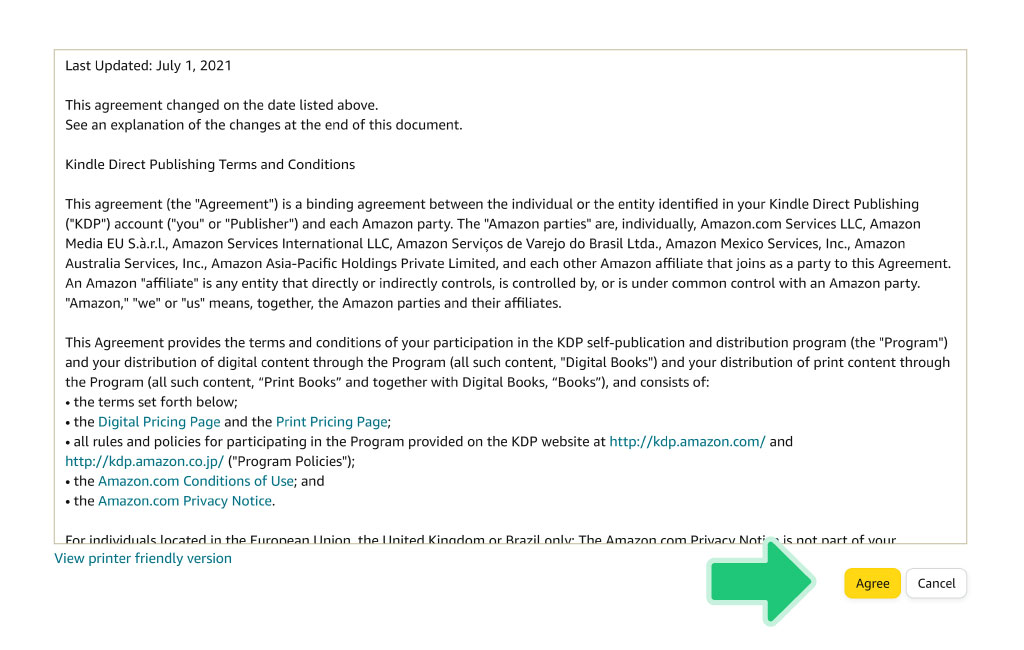
Next, read the Kindle Direct Publishing Terms and Conditions carefully, and confirm them by clicking Agree. This agreement contains important information about policies that affect your account, book content, and publishing rights.
In addition to reading the terms and conditions, I recommend studying the KDP Content Guidelines and taking a look at our guide on how to avoid account terminations. This guide covers all the information you need to safely publish your first book.
3. Update Account Information
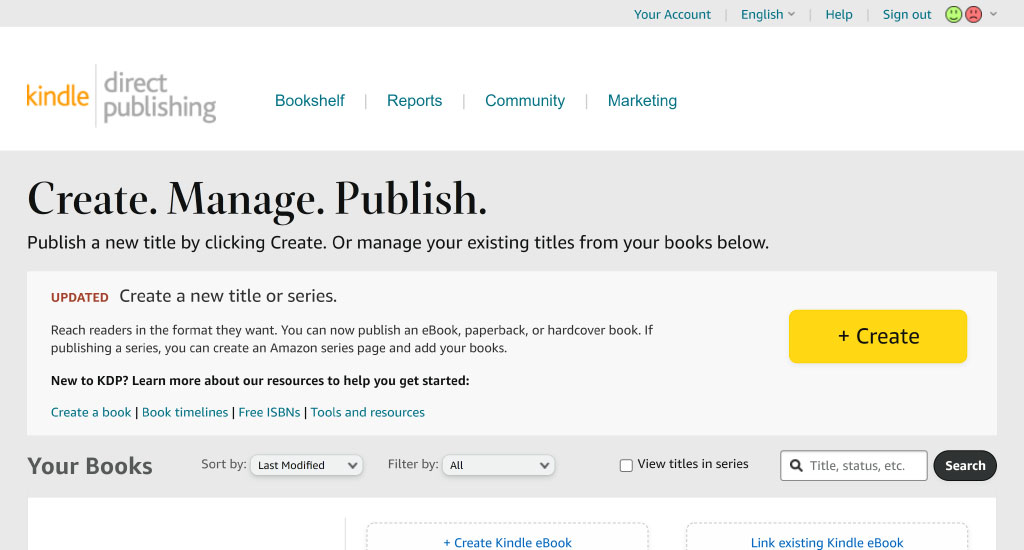
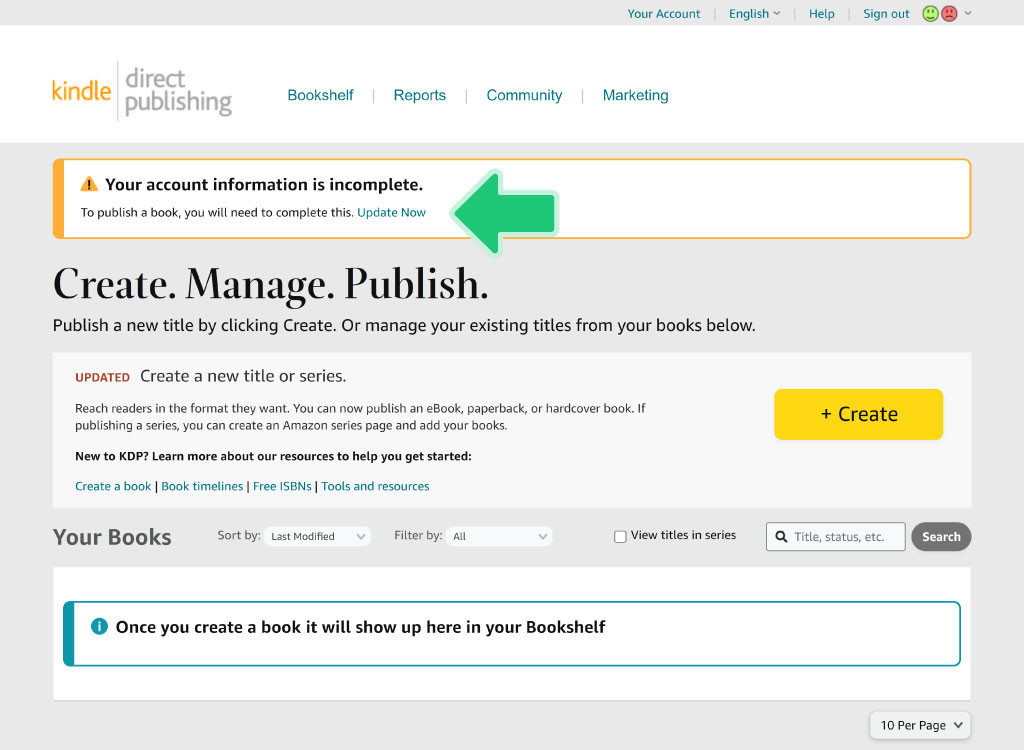
At this point, you should be redirected to the Amazon KDP Bookshelf. At the top, you will see a notification that your account information is incomplete. Click on the blue Update Now text to continue your account setup.
4. Enter Author / Publisher Information
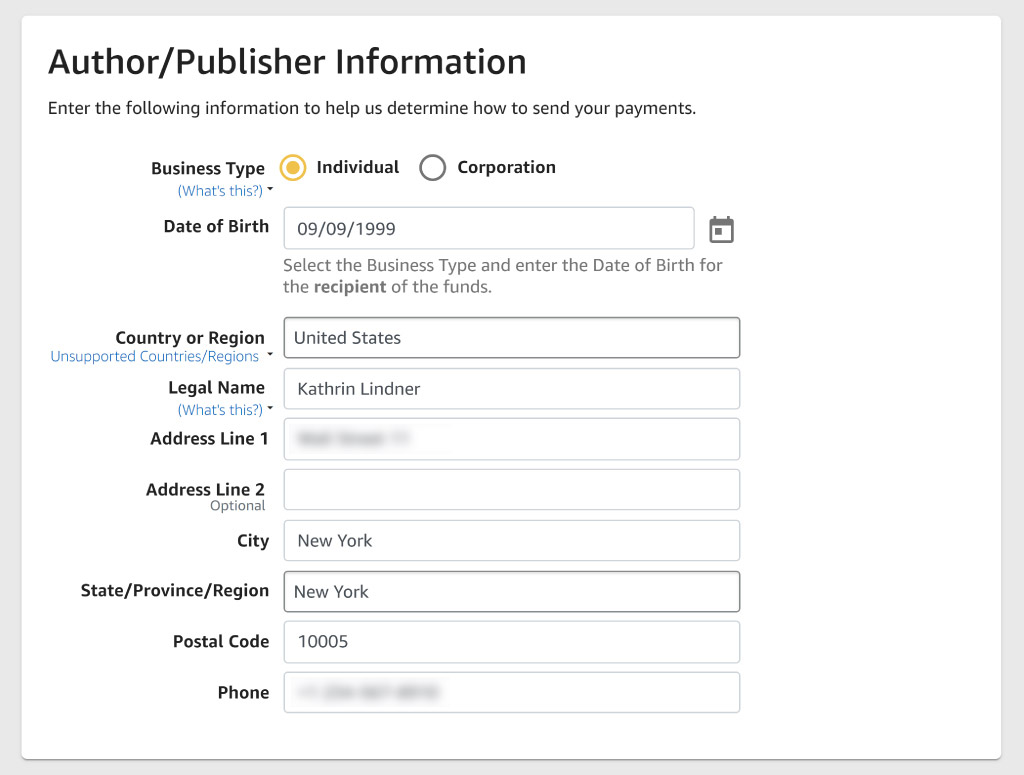
On the next page, you will need to enter your Author/Publisher information. This includes business type, date of birth, name, address, and phone number.
At this point, it is important to enter your real name and not a pen name. Otherwise, this may cause issues with your payments and tax forms. You will have the option to set a pen name for each book later in the publishing process.
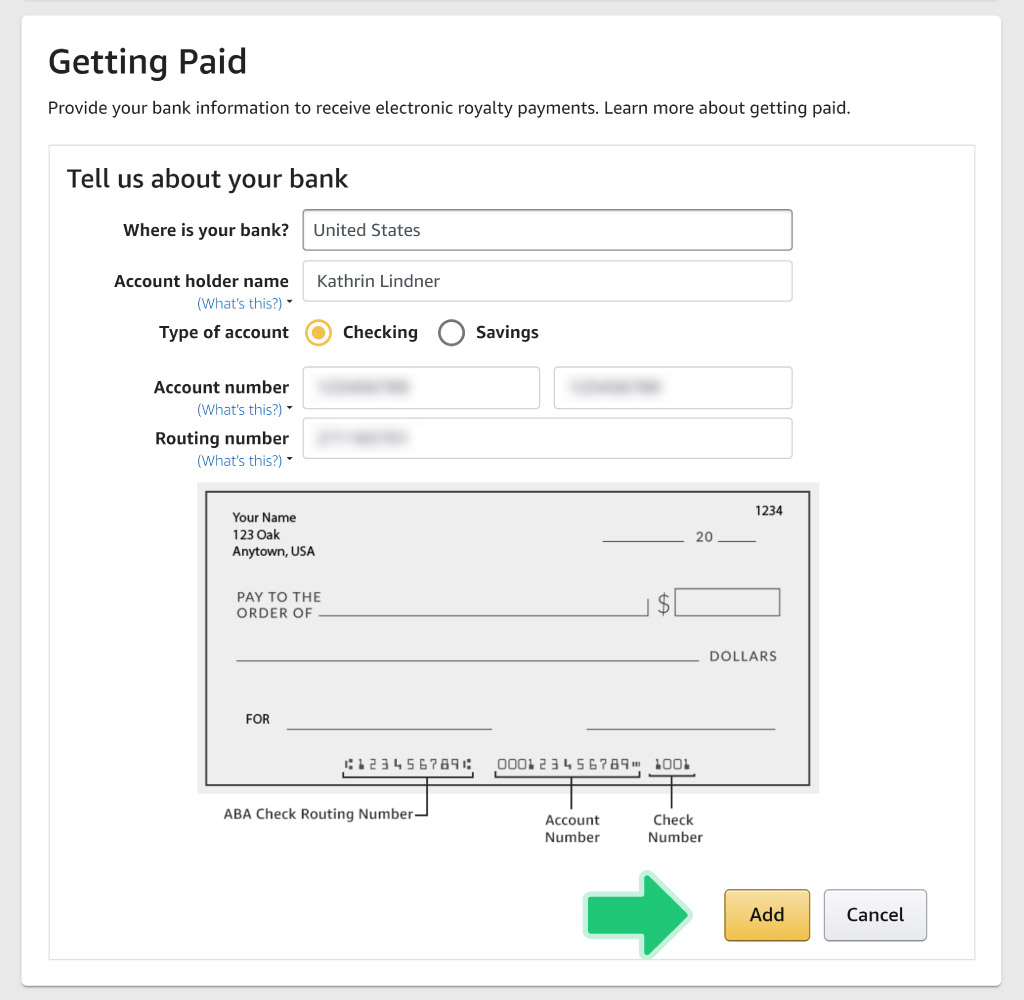
5. Provide Payment Information
In the next section, you need to provide your banking details in order to receive your royalty payouts. Here, you have the option to add multiple bank accounts for different currencies and marketplaces.
Alternatively, you have the option to choose Wire Transfer or Check as a withdrawal method. Check the KDP Payment Options page to see which methods are available for your country.
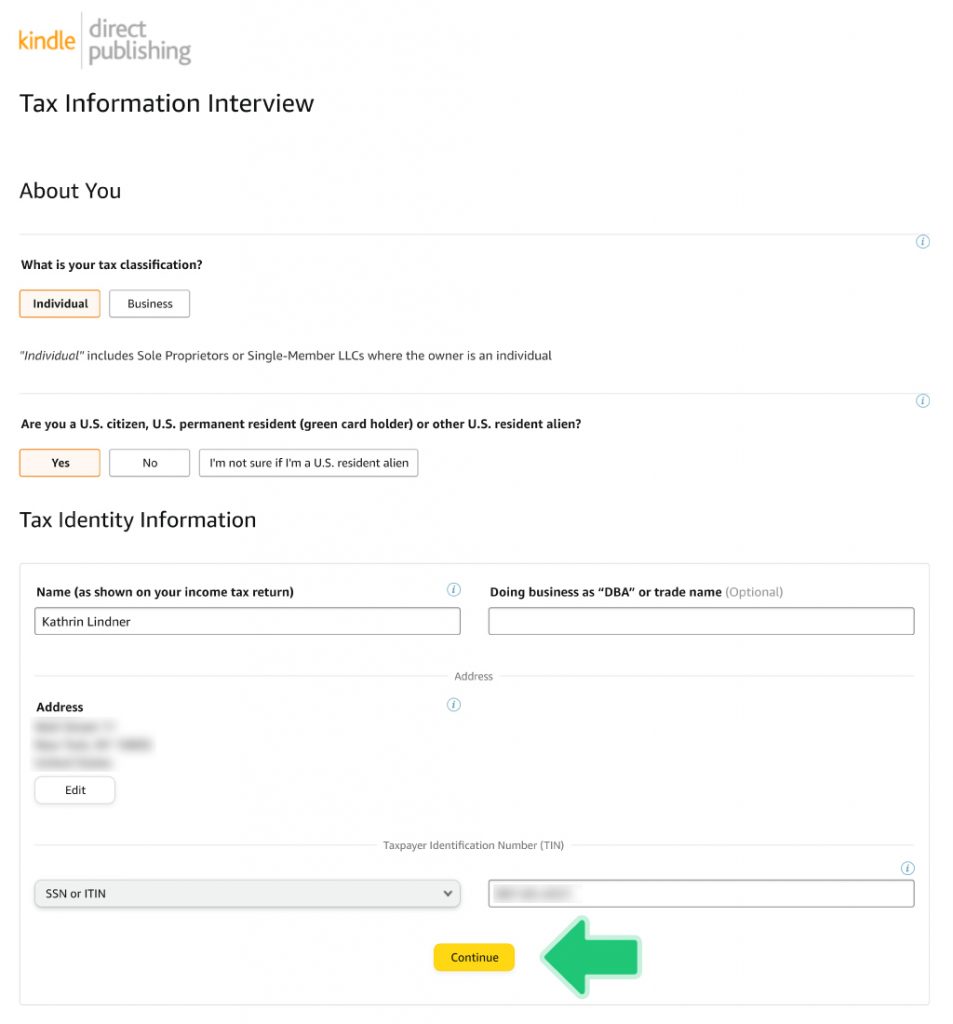
6. Complete the Tax Interview
You’re almost there! In the last step, you will have to complete a quick tax interview. Here, you will submit information such as your business type, name, residence, and social security number.
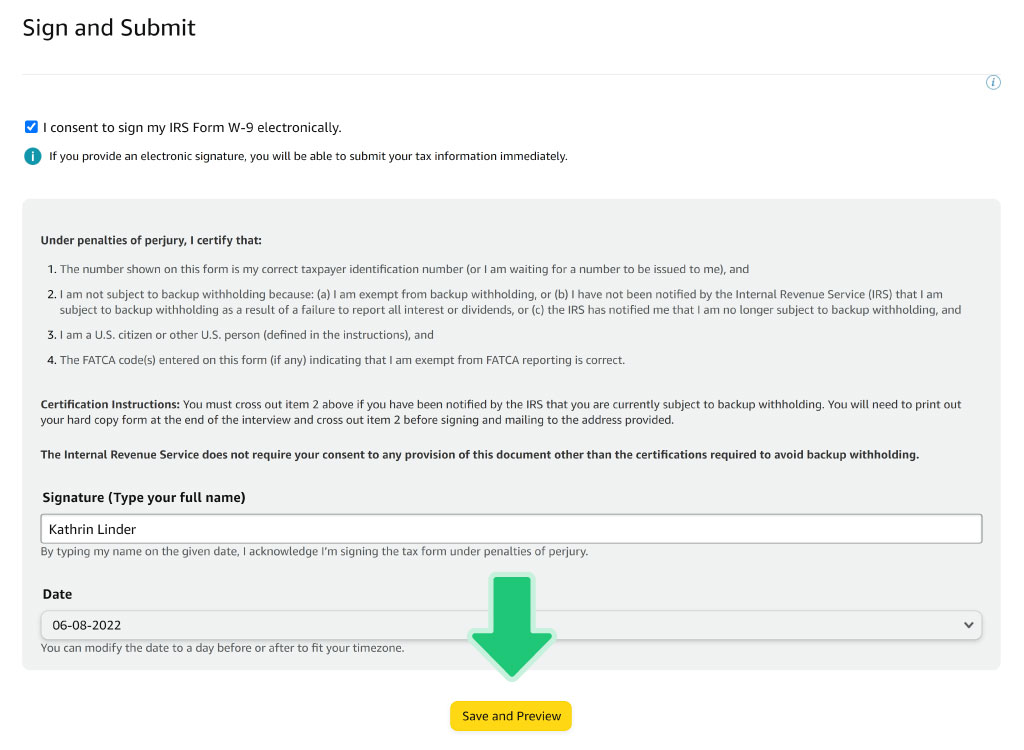
Finally, you will enter your full name as a signature to confirm the tax report agreement and save your information.
7. Done 🎉
Your account is now ready, and you can dive into your self-publishing journey! Once again, don’t forget to take a closer look at the Amazon KDP Content Guidelines before publishing your first book. This will help you be successful in your self-publishing adventure in the long run. Bon voyage!